In this section you will see how you can use MySQL Workbench to connect to a server in order to carry out administrative functions, such as starting and stopping the server.
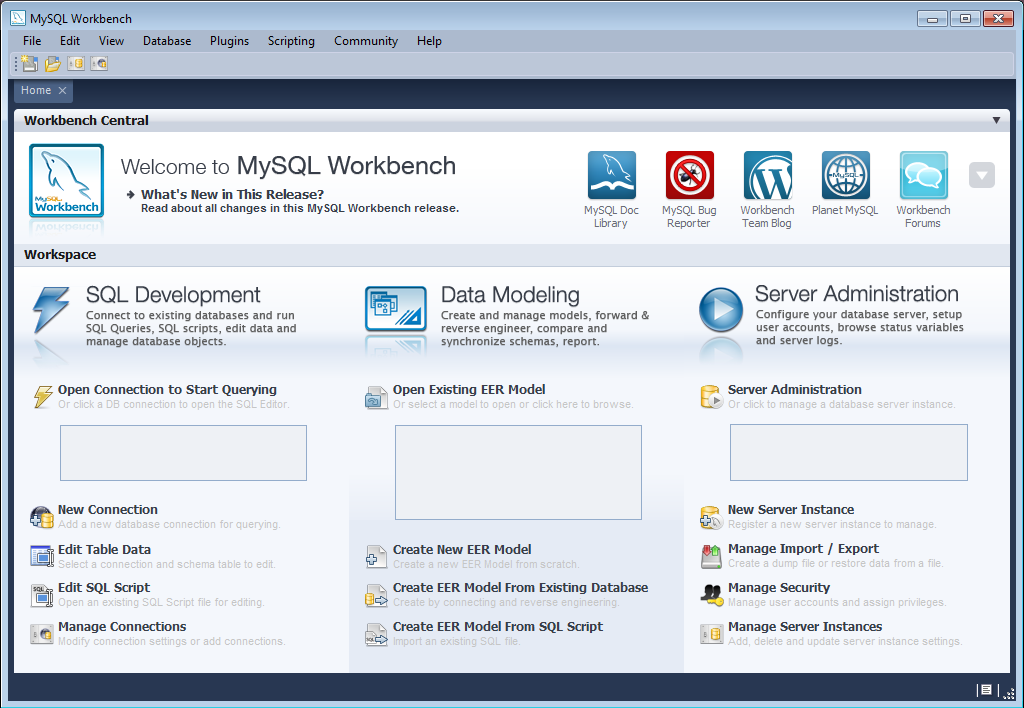
Launch MySQL Workbench. You will be presented with the Home screen:
In order to administer your MySQL Server you need to first create a Server Instance. This contains information about the target server, including how to connect to it. From the Home screen of MySQL Workbench, click New Server Instance. The Create New Server Instance Profile wizard will be displayed.
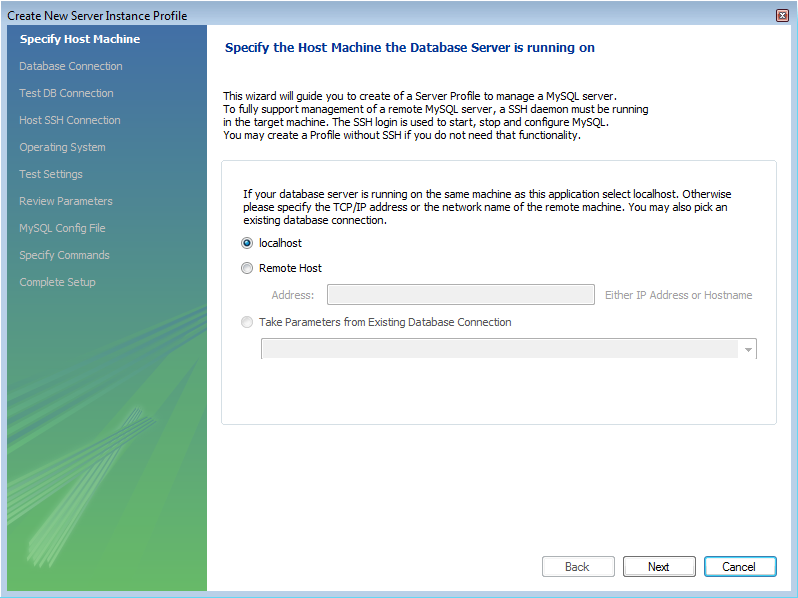
In this tutorial we will connect to a locally installed server, so click .
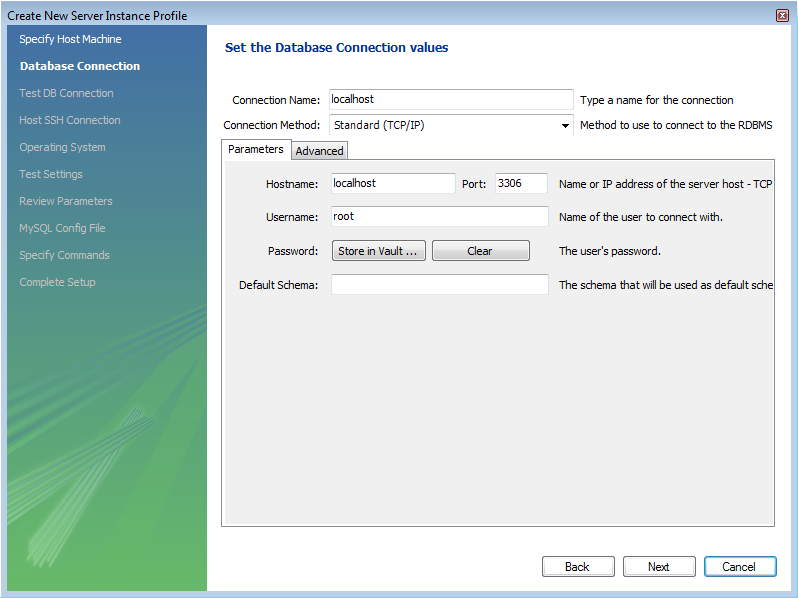
Next you will set up a connection, or select an existing connection to use to connect to the server. Assuming you have not already created a connection, you can use the default values here, although if your MySQL Server has a password set for root, you can set it here by clicking on Store in Vault. This allows you to connect to the server without needing to enter a password each time. It is also possible to use another account to connect to the server by setting the username and password here, if required.
You can now click .
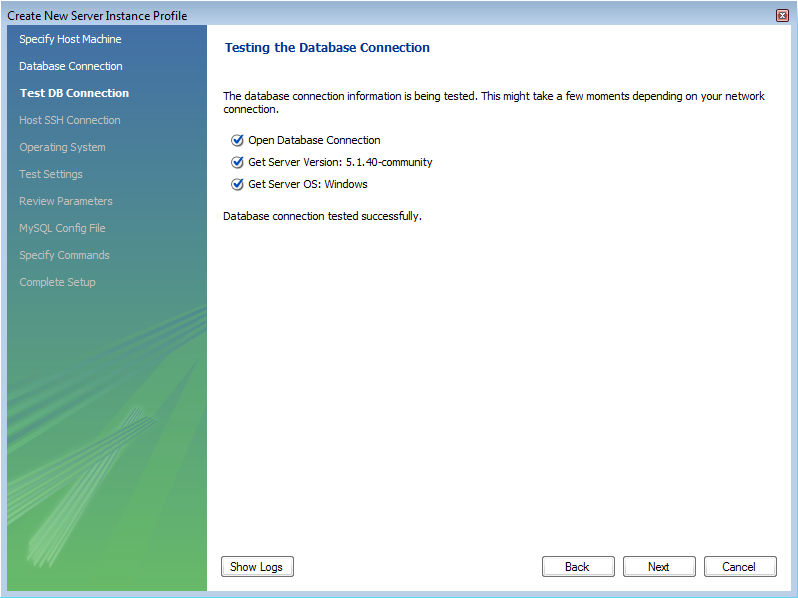
The connection will now be tested. You should see that the connection was successful. If not click and check that you have entered the information required.
If everything tested correctly, click .
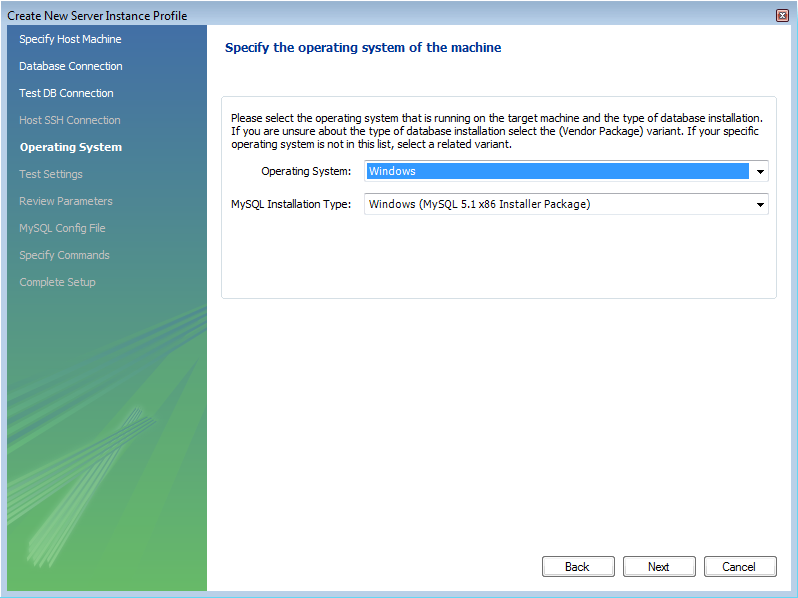
On this screen you will set the operating system and installation type. In this case the installation is Microsoft Windows, and the installation type is MySQL 5.1 x86 Installer Package. Setting these options allows MySQL Workbench to determine location of configuration files, and the correct start up and shut down commands to use for the server.
Once you have set the operating system and installation type, click .
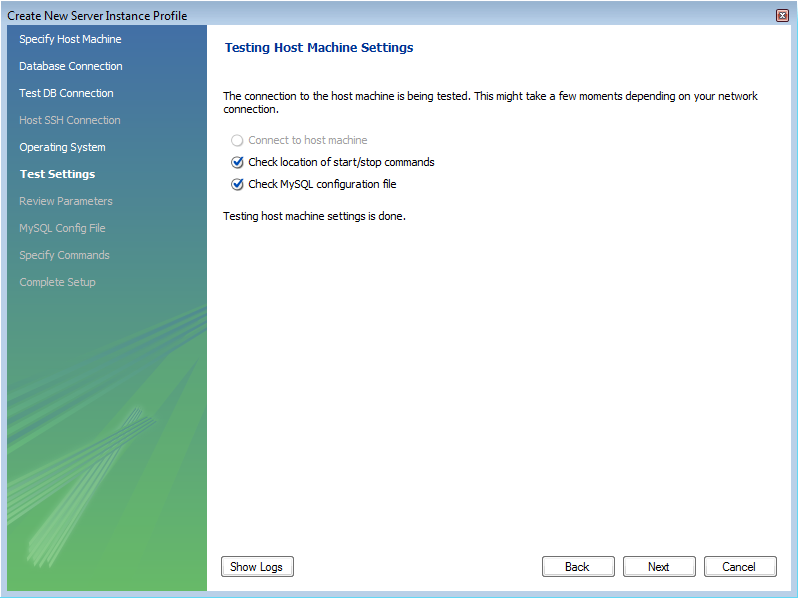
The wizard will now check that it is able to access the start up and shut down commands, and access the MySQL Server configuration file.
Check that everything is in order and then click .
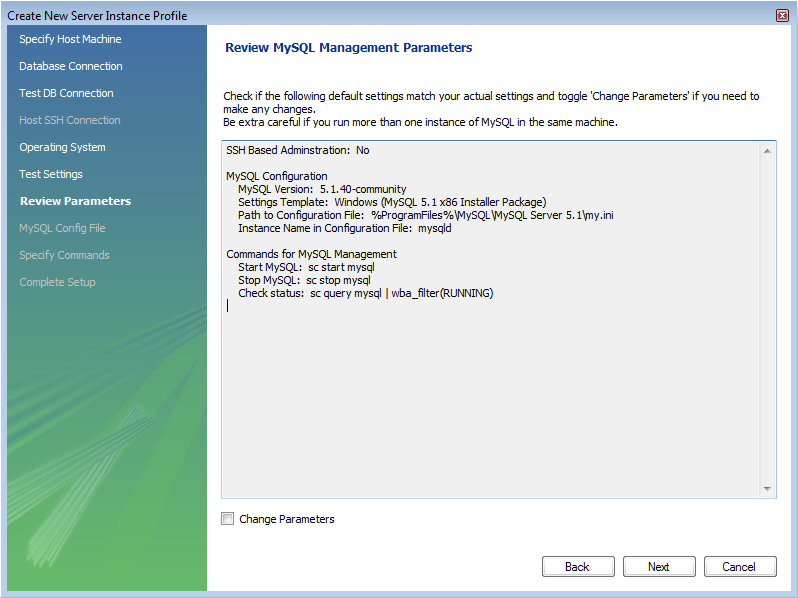
You now have a chance to review the configuration settings so far. The information displayed varies slightly depending on platform, connection method and installation type:
Click .
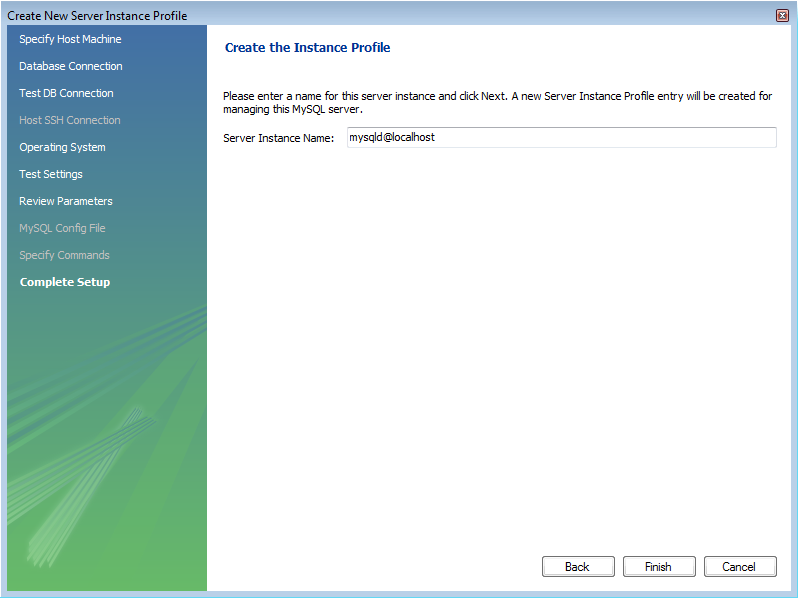
Finally you can give the server instance a suitable name. This will be used to select this particular instance from a list of available instances.
Having set the desired name, you can click to complete the server instance creation process.
You will now be returned to the Home screen. You will see the new server instance you created, along with the new connection you created as part of the above procedure.
You are now ready to test your new server instance.
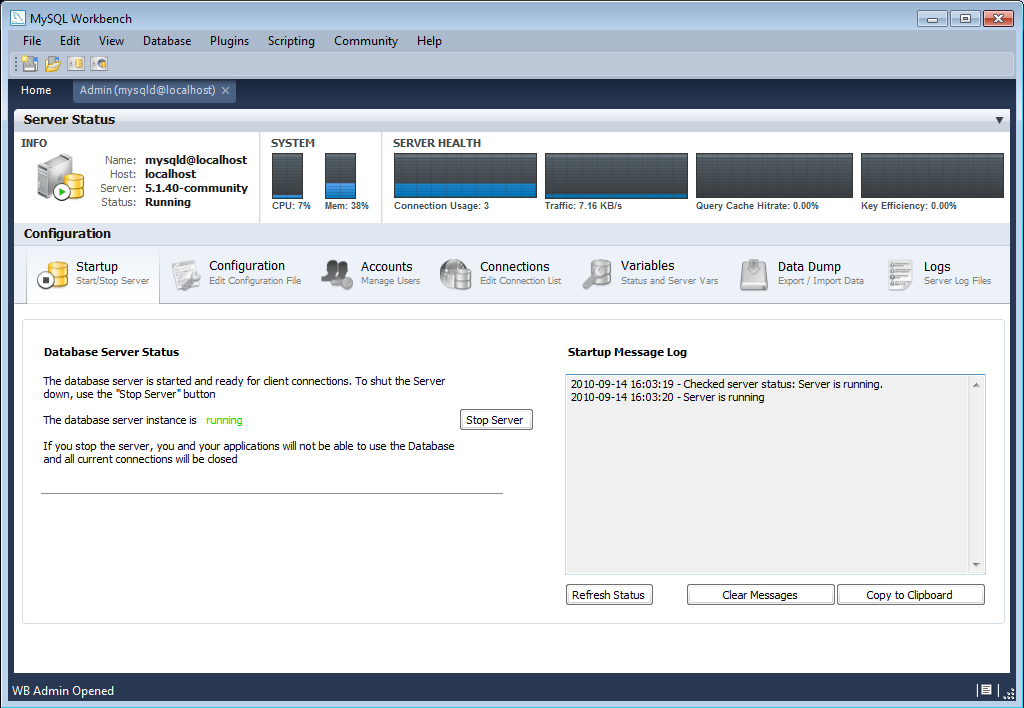
From the Home screen, double-click the Server Instance you created. The Administrator will open on the Startup configuration page.
Click the button. The message window will show that the server has stopped.
Click the button to resume the server. The message window will confirm that the server is running.

You have now seen how to create a server instance to allow you to manage a MySQL server.
For further information see Section 16.7, “Server Administration”.