MySQL Connector/OpenOffice.org enables you to access the MySQL Server and its schemata from the OpenOffice.org suite.
The following example demonstrates the creation of a new OpenOffice.org Base database which uses a local MySQL Server for storage and the new connector for connecting.
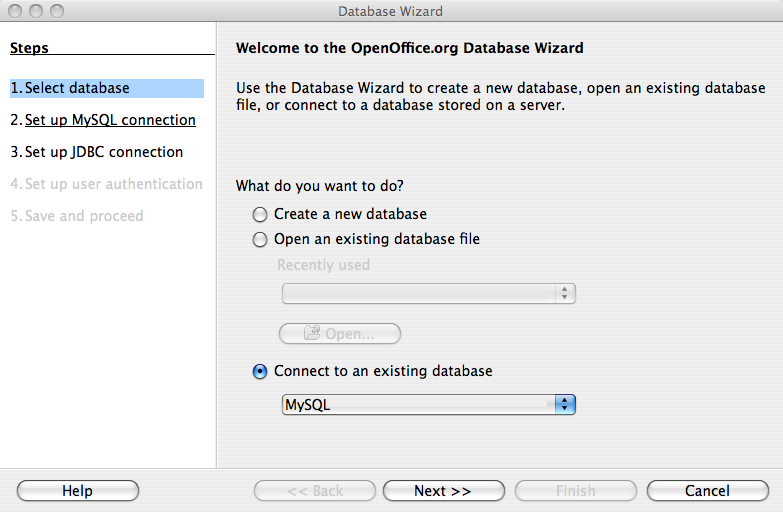
Select the database
Create a new database by selecting , , . This starts a wizard that enables you to create a new database, open an existing database, or connect to an existing database. Select the Connect to existing database radio button. From the listbox select MySQL. Click .
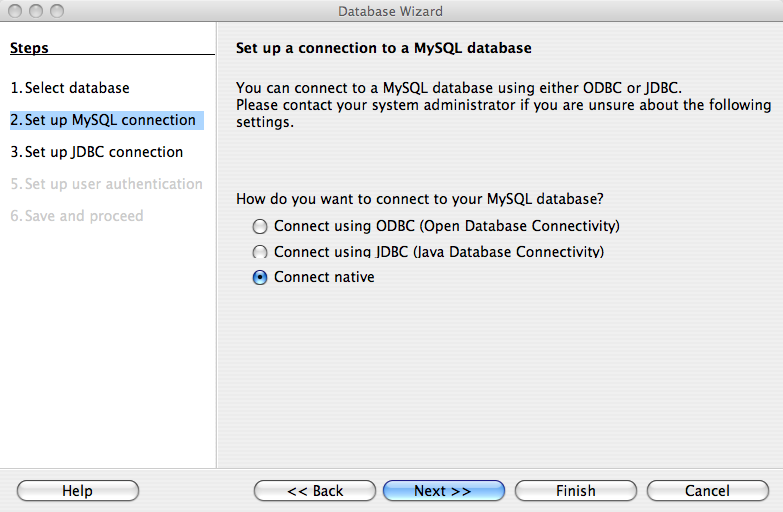
You will be asked how you would like to connect to the database. Select the Connect native radio button.
Click .
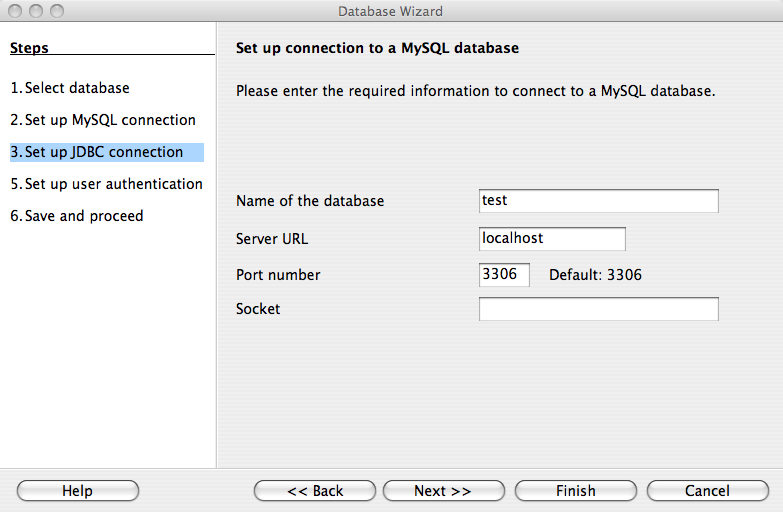
Fill in the connection settings
Enter the name of the database, server URL, and optionally the socket to connect on (if not using the default).
Note that if you do not specify a database all databases will be available for selection.
Click .
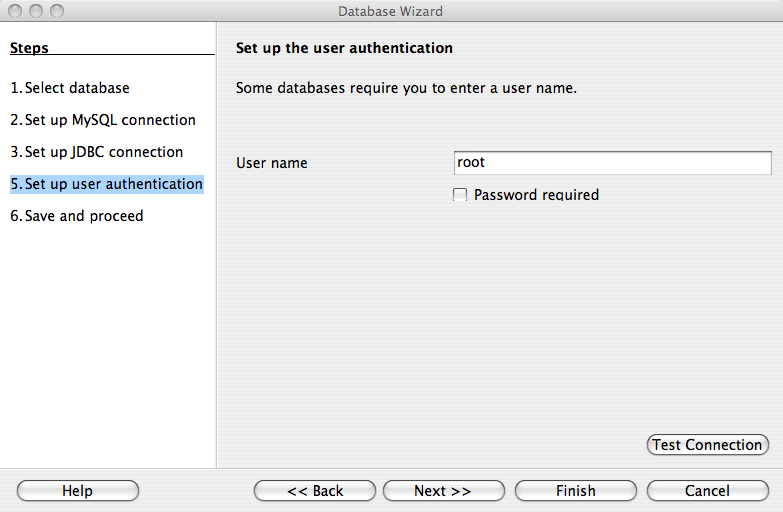
Set up user authentication
If you are using MySQL server's anonymous account without a password, you do not have to fill in anything in this step. Otherwise, fill in your MySQL user name and check the password checkbox. Note, for security reasons, you should not normally use the anonymous account without a password.
You can now test your connection to the MySQL database server by clicking the button. Check the checkbox if you do not want OpenOffice.org to ask you for your password again in the current session. Testing the connection is optional, although recommended.
Click .
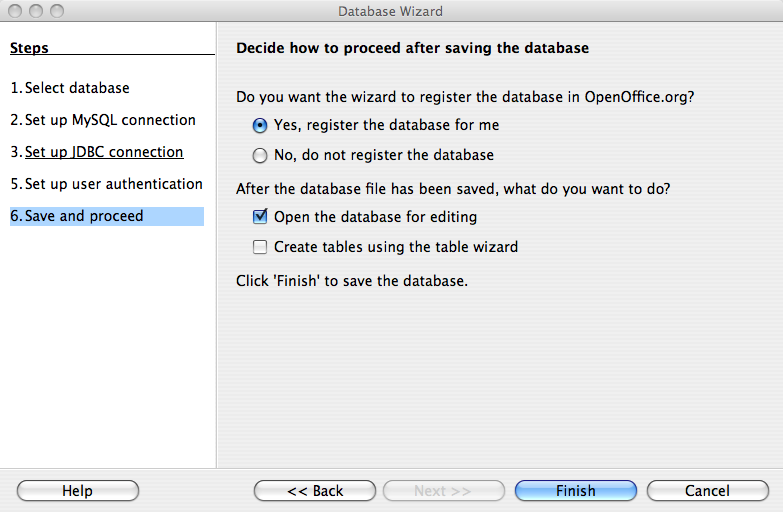
Decide how to proceed after connecting to the database
Keep the default settings.
Click .
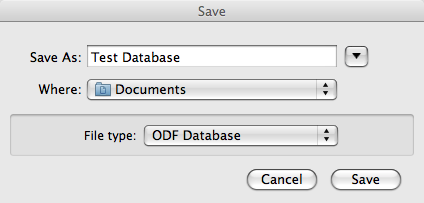
You will then be prompted to save you database as a database file. Enter the name of the database and the location in which to save the file.
Click .
You will be located in the Base application with your database tables displayed.